Wart Removal Aftercare: How to Keep Your Skin Healthy After Treatment
When planning wart removal aftercare, the set of steps you follow after a wart is removed to promote healing and prevent complications. Also known as post‑wart care, it involves cleaning, protecting, and nurturing the treated area until new skin forms.
One of the first decisions after a procedure is choosing the right method for the initial removal. For example, cryotherapy, the freezing technique often used by dermatologists, leaves a small blister that needs gentle handling. salicylic acid treatment creates a gradual peel, so the skin may feel dry and tight for days. Understanding how each method impacts aftercare helps you pick the right products and habits. Wart removal aftercare isn’t just about cleaning; it’s about matching care to the removal technique, using moisturizers that support barrier repair, and avoiding actions that could reopen the wound.
Key Steps for Successful Healing
Start with gentle cleansing. Use lukewarm water and a mild, fragrance‑free soap to wash the area twice a day. Pat the skin dry with a clean towel—don’t rub, as friction can disturb the new tissue. After cleaning, apply a thin layer of a petroleum‑based ointment or a silicone gel to lock in moisture. This creates a protective seal, reducing scab formation and lowering the risk of visible scars.
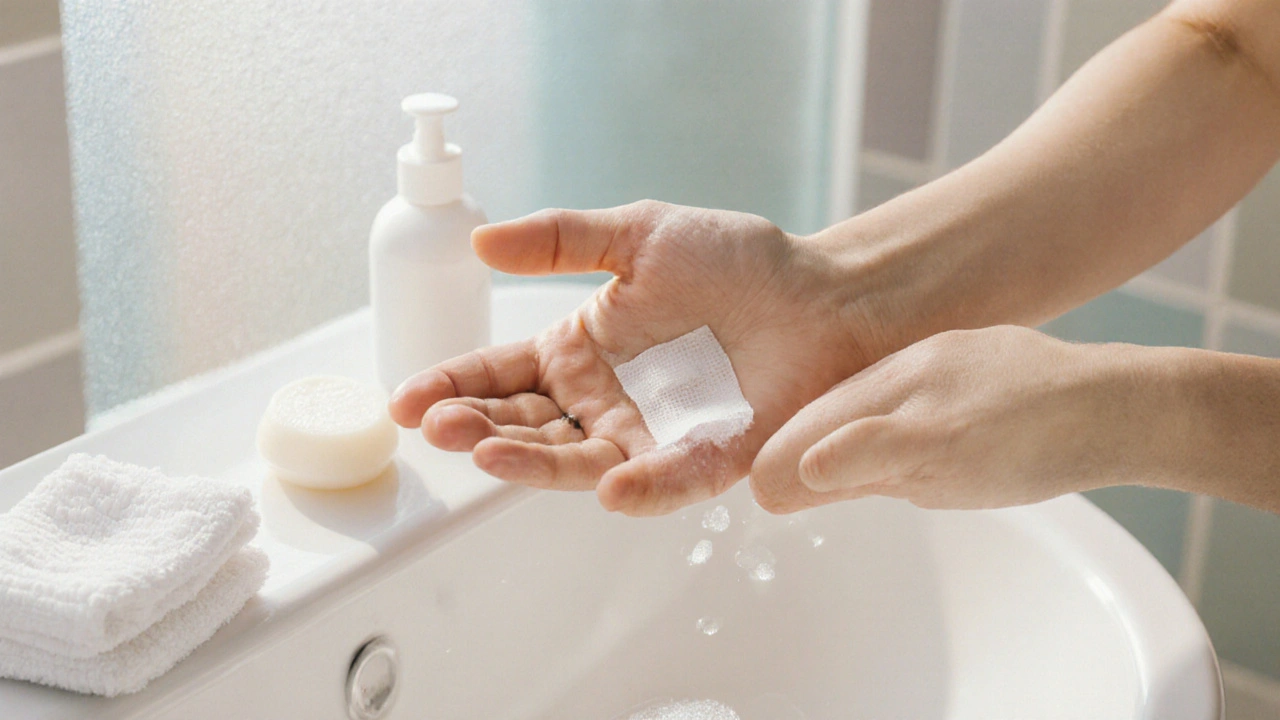
Protect the site from friction and UV exposure. If you’ve had a wart removed on your hands or feet, consider a breathable bandage that keeps dirt out but still allows air flow. For facial warts, a lightweight sunscreen (SPF 30 or higher) is crucial; UV rays can darken the healing skin and delay pigment normalization. Remember, even though the wound may look closed, the underlying tissue continues to remodel for weeks.
Monitor for signs of infection. Redness that spreads beyond the immediate area, increasing pain, pus, or a fever are red flags. If you notice any of these, contact a dermatologist promptly. Early intervention prevents deeper tissue damage and can spare you from more aggressive treatments later.
When the skin starts to peel or flake, resist the urge to pick. Peeling is a natural part of the regeneration process, and picking can re‑injure the tissue, leading to a larger scar. Instead, keep the area moisturized and let the skin shed on its own timeline.
Consider adjunct therapies. Some people find that applying a thin layer of aloe vera gel reduces itching and supports collagen formation. Others use over‑the‑counter silicone sheets that flatten raised scars as they heal. If you’re prone to keloids or have a history of scar formation, discuss prophylactic silicone or steroid treatments with your dermatologist during the first follow‑up visit.
Finally, schedule a follow‑up appointment. A dermatologist can assess how well the wound is closing, suggest additional scar‑minimizing strategies, and confirm that the wart hasn’t returned. This step ties the whole aftercare plan together, ensuring you get professional guidance if the healing process deviates from the norm.
By combining proper cleaning, moisture retention, protection from external irritants, and vigilant monitoring, you set the stage for fast, clean healing. Below you’ll find detailed articles that dive into each of these topics, from specific ointments to when to seek medical help, giving you a complete roadmap for flawless post‑wart recovery.
Learn the step‑by‑step aftercare for wart removal, including cleaning, moisturizing, sunscreen use, scar prevention, and when to seek a dermatologist.
 Medications